
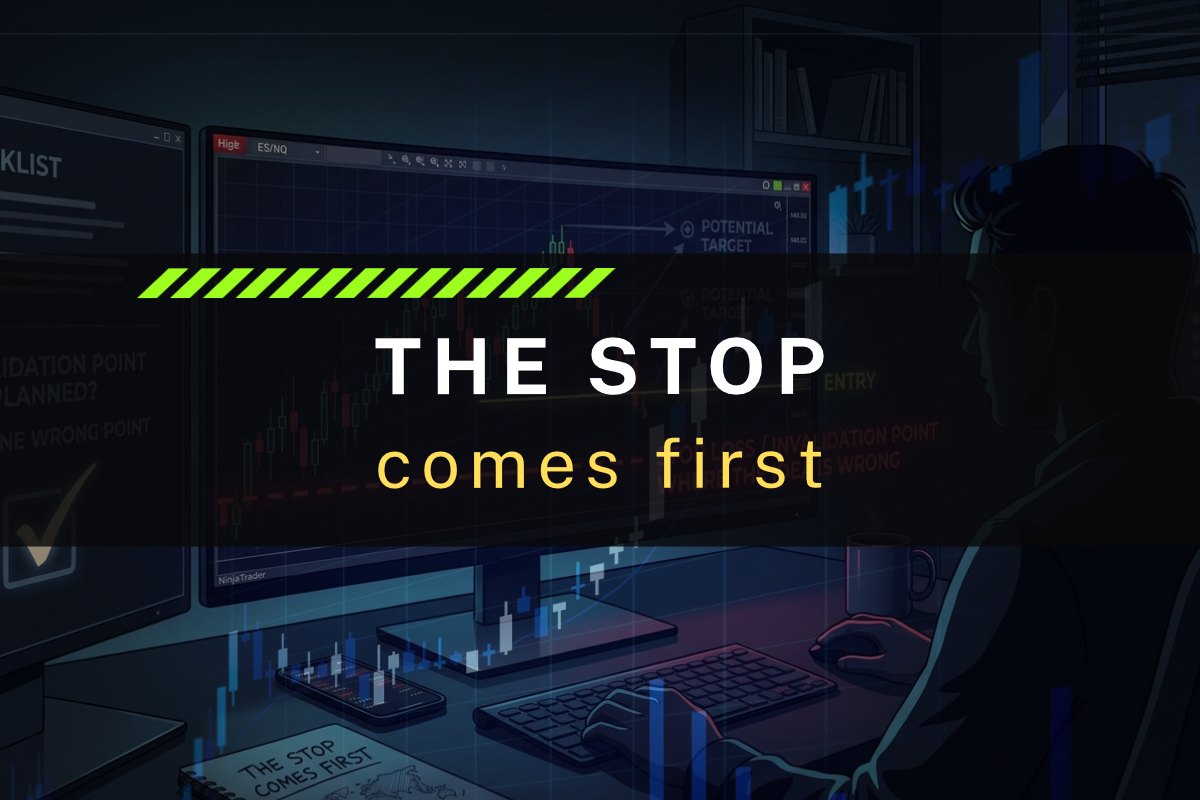
A stop is not something you add after the trade goes wrong. It belongs on the map before the entry, right next to the level that gave you the idea in the first place.
If you cannot point to a place on the chart where your thesis is proven wrong, there is no trade to take.
The Stop Comes First
Most traders look at a printed level and immediately think about where the price could go. A professional desk asks a completely different question first: Where would this idea be wrong?
That point is the stop. It must be drawn before the order is placed, on the same chart, derived from the same read of the session. It is not a random number picked ten minutes later because the drawdown started to hurt.
When the stop is planned first, the risk is something you agreed to. When it is added later, the risk is something that happened to you.
No Invalidation Point Means No Trade
Some setups look appealing but have no clear place where they structurally fail. The level is fuzzy. The price action is messy. The only "stop" that makes technical sense would sit far too wide to justify the risk.
In those moments, the honest answer is to pass. A trade without a clear invalidation point is not a trading plan. It is a hope with an order attached. Standing down is an active decision. A flat session is still a session.
Levels Are Reference Points, Not Promises
Tools like SessionEDGE and TrendEDGE are calculation overlays. They plot numbers based on session data, and those numbers can be late, or they can be wrong.
A plotted level is a reference point—it is not a signal, and it is never a reason to blindly click. Price may reach a level and keep going. It may stop a tick short. A fill at the level is never promised. That is precisely why your stop has to make sense structurally, not just because a line happened to be drawn there.
When the Map Does Not Support the Stop
Sometimes the right structural stop is obvious, but it is farther away than your daily risk parameters allow. When this happens, you have three honest choices:
- Size down so the wider stop fits within your predefined risk limit.
- Wait for price to retrace to a place where a tighter stop is structurally justified.
- Stand down and let the setup go.
What you must never do is choke the stop—moving it closer just to make your preferred position size fit. A stop placed in a random zone without structural support will likely be hit by normal intraday noise. If that happens, it was never really a stop; it was just liquidity for someone else.
The Desk Checklist
Before you press the button, run this check:
- Where is the idea wrong? Mark it before the entry.
- Does that stop sit on the map for a technical reason you can say out loud?
- Does your position size fit that exact stop without breaking your daily risk limit?
- If any answer is unclear, is passing the better choice today?
The stop is the line that defines the risk you agreed to. Draw it first, or do not take the trade.
A note on the platform: If you use NinjaTrader®, stop and target orders can be planned in the platform using ATM strategies before you enter. How they behave depends on your settings, your broker, and market conditions, including slippage and gaps. NinjaTrader® is a registered trademark of NinjaTrader Group, LLC. No NinjaTrader company is affiliated with Tradoer or endorses these tools.
This journal is for educational purposes only. It is not financial advice and not a trade recommendation. Full legal disclaimer at tradoer.com/legal.